---
title: Turn on a Default Reply
description: >-
Configure one WhatsApp account, enable a greeting, save, and test from another
phone.
sidebar:
order: 1
---
In this tutorial, you will turn on a **Default Reply** for one WhatsApp account. It sends when no Chatbot item matches the customer message.
**Time needed:** 10 minutes
## Before you start
Make sure:
- You are logged in to Wabot.
- The WhatsApp account you will use shows **Online**.
- You have a second phone to send a test message. Do not test from the connected phone.
> Autoresponder is not keyword matching. For a reply that depends on words the customer types, use [Choose Keyword mode](/features/chatbots/keyword-mode).
## 1. Open Autoresponder
On the left menu, click **Autoresponder**.
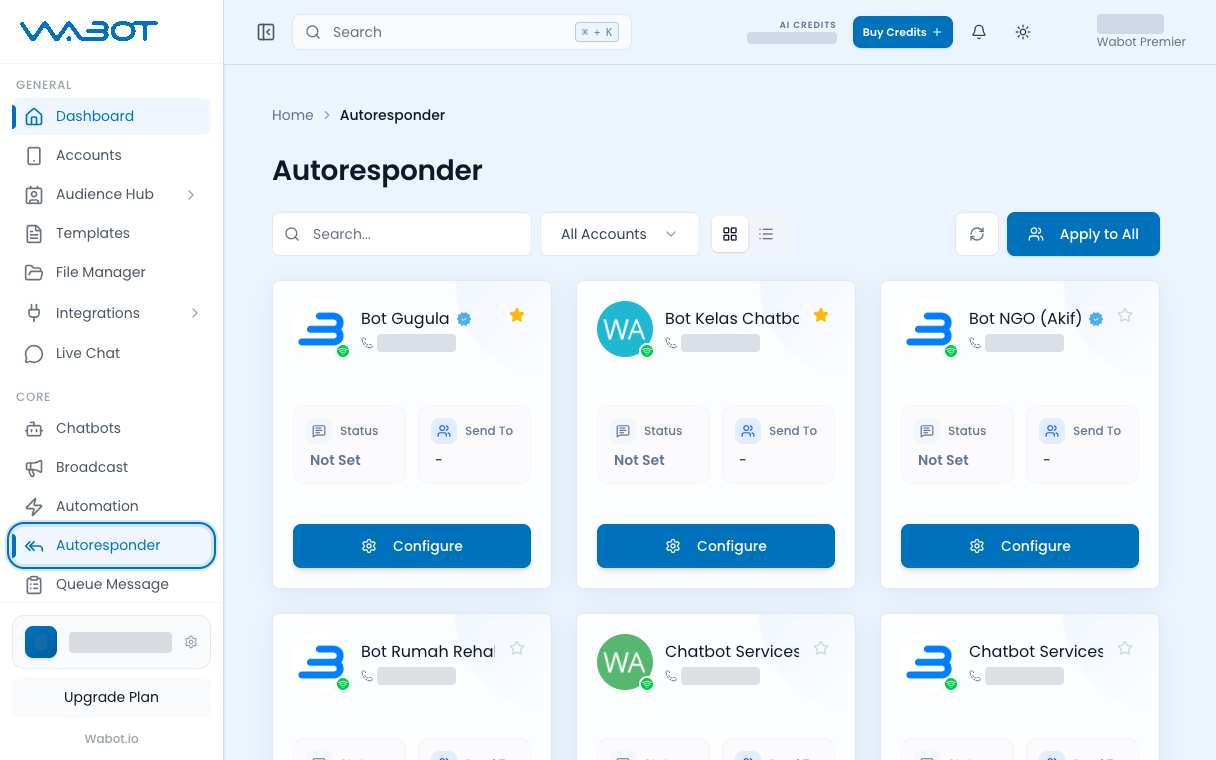
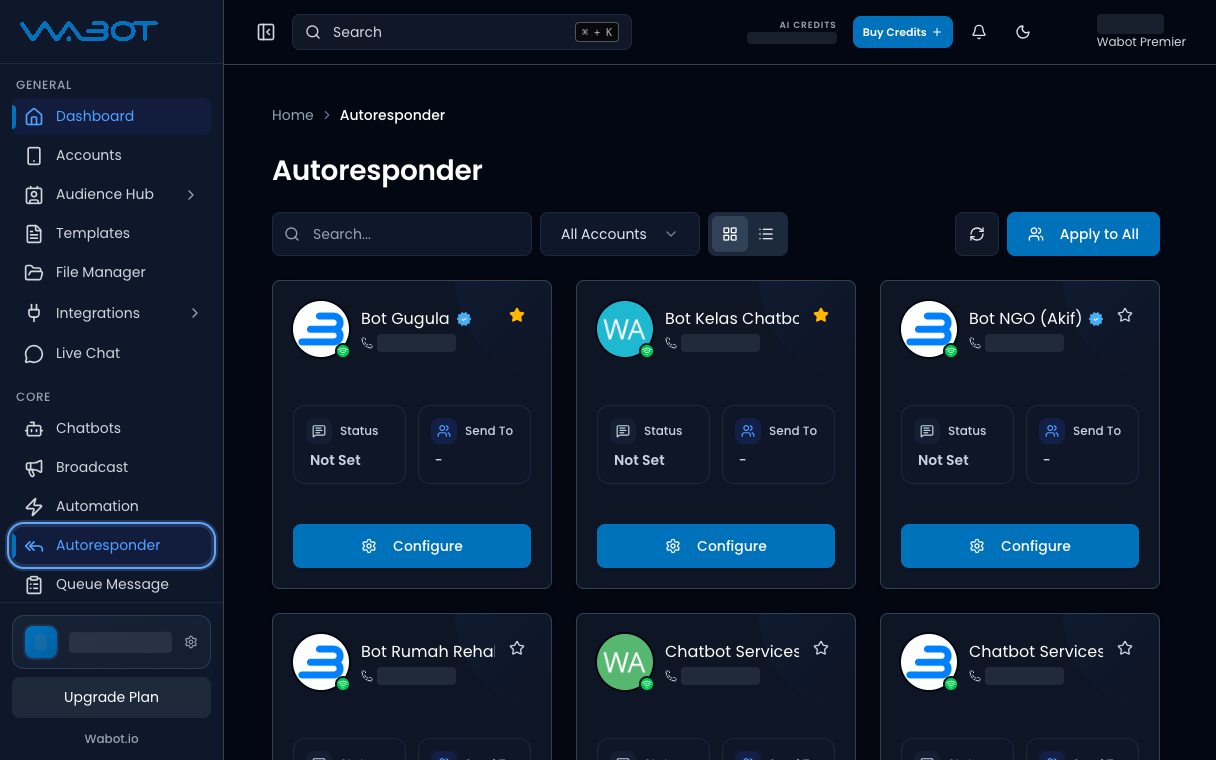
You will see one card per WhatsApp account. **Status** may still say **Not Set**.
Click Autoresponder, then Configure on the account.
## 2. Configure the account
On the account card, click **Configure**.
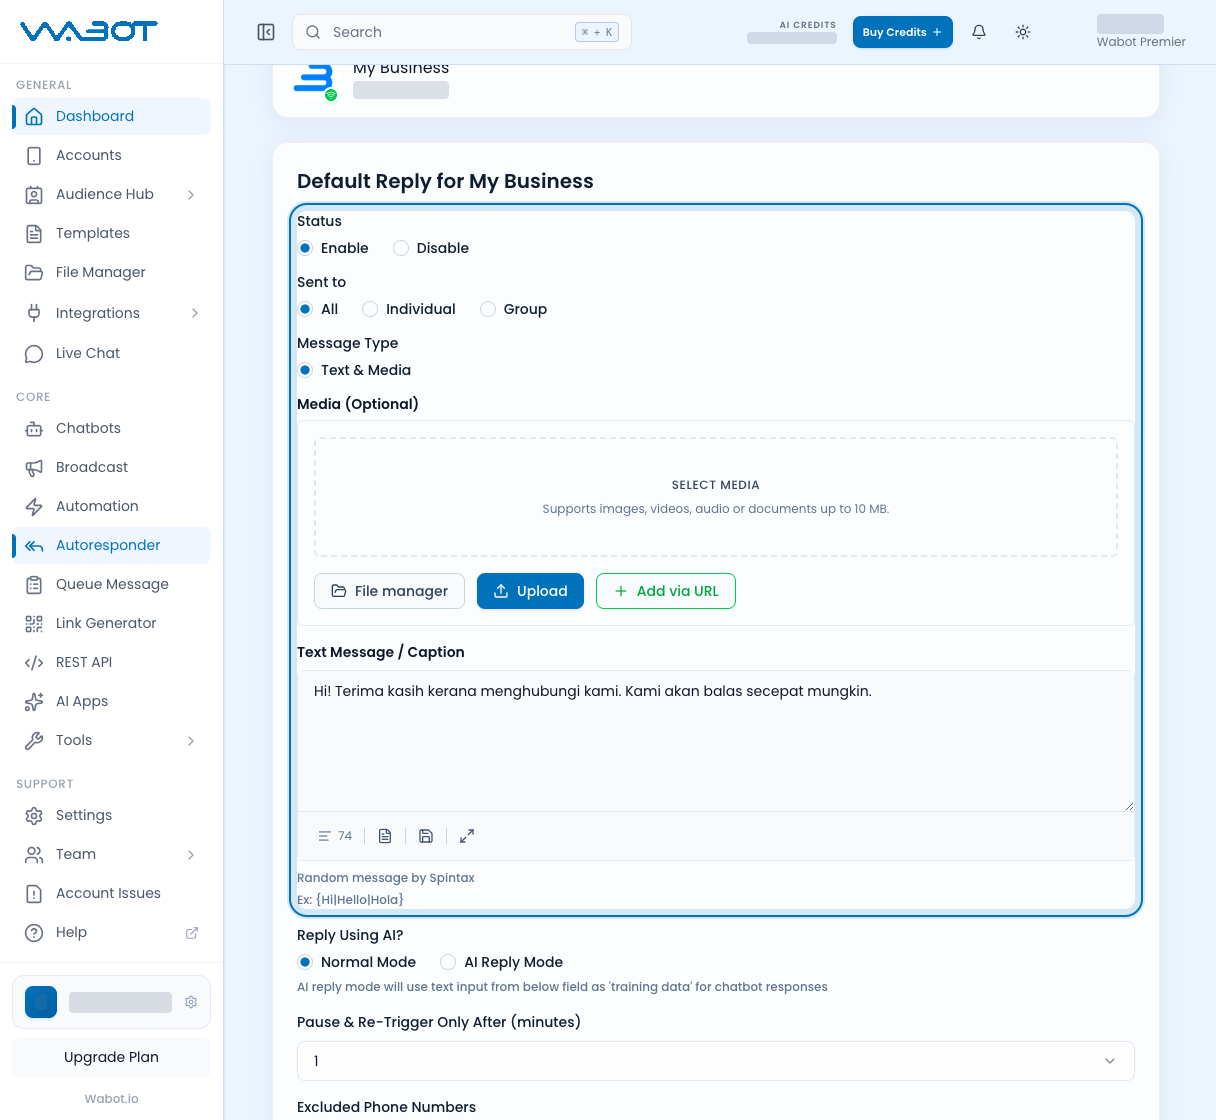
The page title is **Default Reply**.
## 3. Enable and write the greeting
Set **Status** to **Enable**.
Leave **Sent to** on **All** for this test.
Leave **Reply Using AI?** on **Normal Mode**.
Under **Text Message / Caption**, type a short greeting.
> Hi, thanks for messaging us. A team member will reply shortly.
You can add optional media under **Media (Optional)**.
Click **Save**.
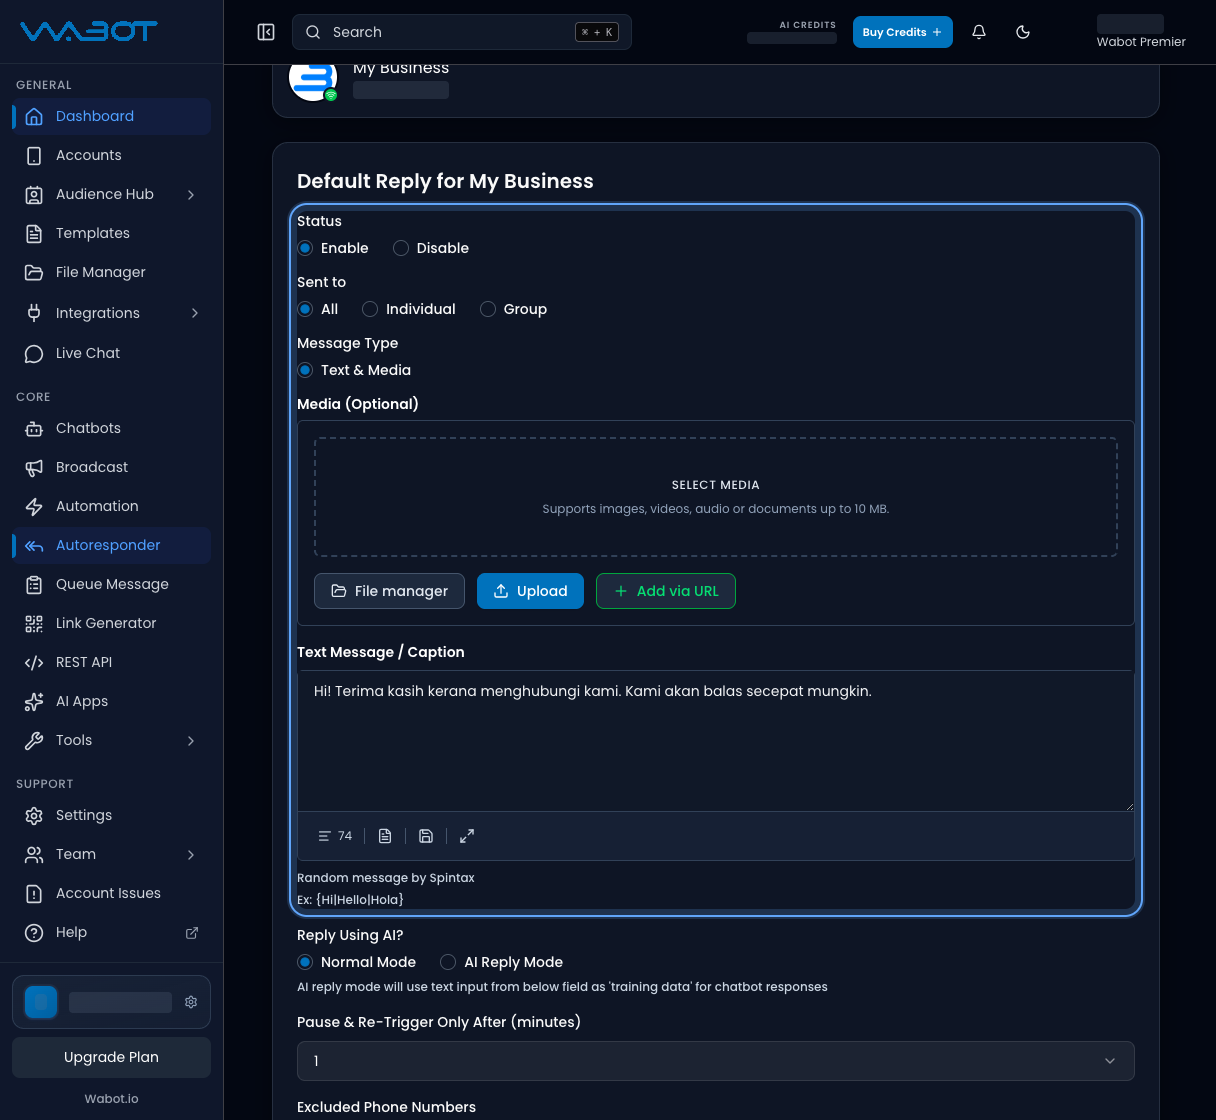
Set Status to Enable and write your greeting. Sample text shown.
## 4. Send a test from another phone
From the second phone, send a short WhatsApp to the connected number.
> Hello
Open **Live Chat** and check that conversation.
## Make sure it worked
This tutorial worked when:
- The account card shows **Status** as **Enabled**.
- **Send To** shows **All**.
- The second phone received your greeting.
- The same reply appears in **Live Chat**.
## If it didn’t work
### Nothing was sent
- Confirm **Status** is **Enable**, then **Save** again.
- Confirm the WhatsApp account is still **Online**.
- Send a message that does not match a Chatbot keyword item.
### You see a yellow chatbot warning
If Chatbots already has a **Default Reply**, Autoresponder only sends when that Chatbot reply fails. Turn the Chatbot default off, or test with a message that the Chatbot does not answer.
### You tested from the same phone
Use a different phone. The connected number cannot message itself.
## Next
The greeting now replies to everyone. Next, send it only to individual chats or only to groups.
[Choose who receives the reply →](/features/autoresponder/sent-to)