---
title: Choose Keyword mode
description: >-
  Open your WhatsApp account in Chatbots and set the instance to Keyword so
  replies use fixed chatbot items.
sidebar:
  order: 1
---
In this tutorial, you will set one WhatsApp account to **Keyword** mode.

**Time needed:** 5 minutes

## Before you start

Make sure:

- You are logged in to Wabot.
- The WhatsApp account you will use shows **Online**.

> If WhatsApp is not connected yet, finish [Connect Your WhatsApp Account](/getting-started/connect-account) first.

> **Keyword** means the bot replies only when the customer message matches a chatbot item you create. It does not write its own answers.

## 1. Open Chatbots

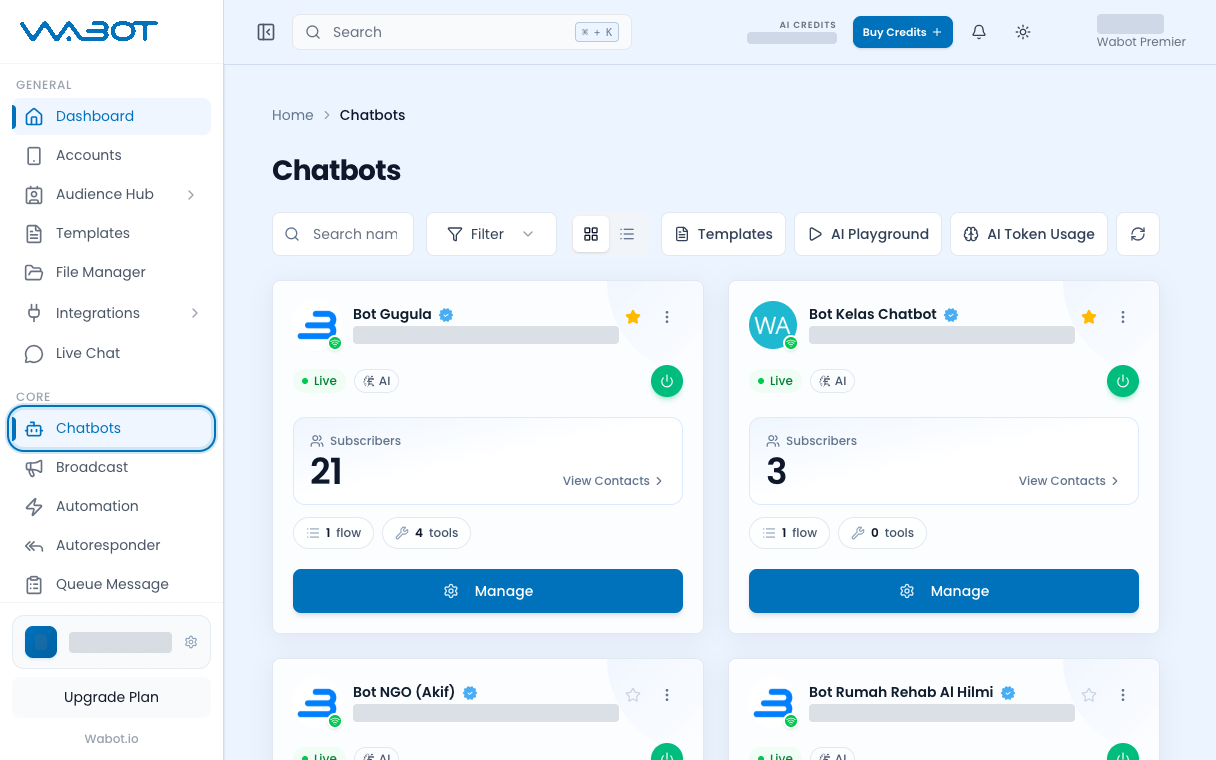
On the left menu, click **Chatbots**.

<figure class="doc-shot">
  <img class="doc-shot__light" src="/images/features/chatbots/cb-list-light.png" alt="Chatbots page with Chatbots highlighted in the menu" width="1216" height="760" loading="lazy" decoding="async" />
  <img class="doc-shot__dark" src="/images/features/chatbots/cb-list-dark.png" alt="Chatbots page with Chatbots highlighted in the menu" width="1216" height="760" loading="lazy" decoding="async" />
  <figcaption>Click <strong>Chatbots</strong> in the left menu.</figcaption>
</figure>

## 2. Open the WhatsApp account

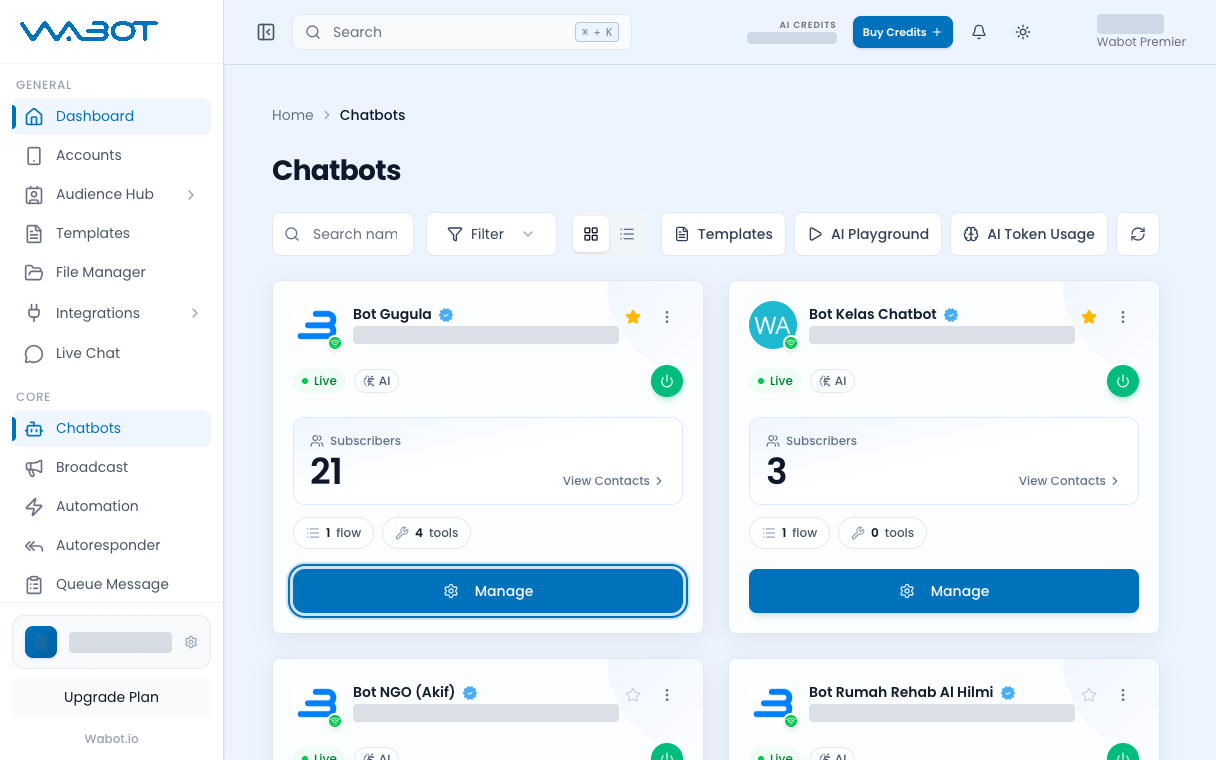
Find the account you just connected.

Click **Manage**.

<figure class="doc-shot">
  <img class="doc-shot__light" src="/images/features/chatbots/cb-manage-light.png" alt="Chatbots page with Manage highlighted on an account card" width="1216" height="760" loading="lazy" decoding="async" />
  <img class="doc-shot__dark" src="/images/features/chatbots/cb-manage-dark.png" alt="Chatbots page with Manage highlighted on an account card" width="1216" height="760" loading="lazy" decoding="async" />
  <figcaption>Click <strong>Manage</strong> on the account.</figcaption>
</figure>

## 3. Open Settings

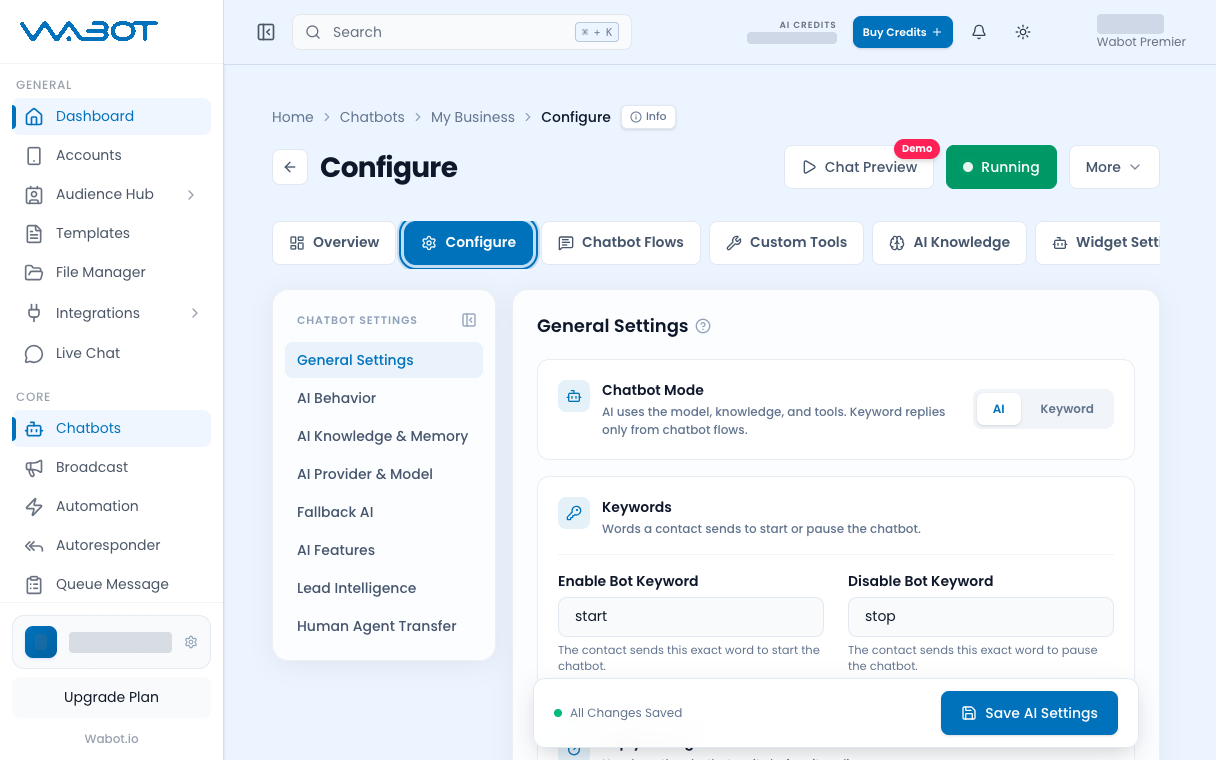
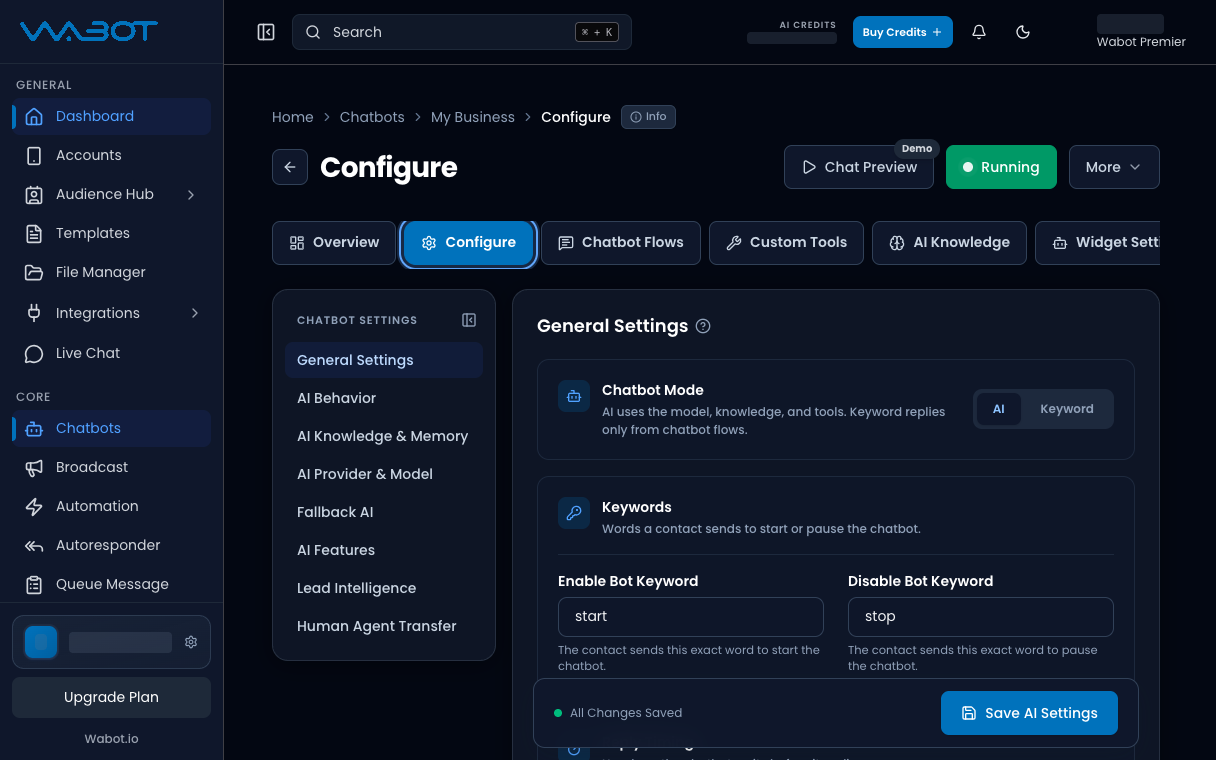
On the instance page, open the **Settings** tab.

<figure class="doc-shot">
  <img class="doc-shot__light" src="/images/features/chatbots/cb-configure-light.png" alt="Configure tab highlighted on the chatbot page" width="1216" height="760" loading="lazy" decoding="async" />
  <img class="doc-shot__dark" src="/images/features/chatbots/cb-configure-dark.png" alt="Configure tab highlighted on the chatbot page" width="1216" height="760" loading="lazy" decoding="async" />
  <figcaption>Open the <strong>Configure</strong> tab.</figcaption>
</figure>

## 4. Choose Keyword

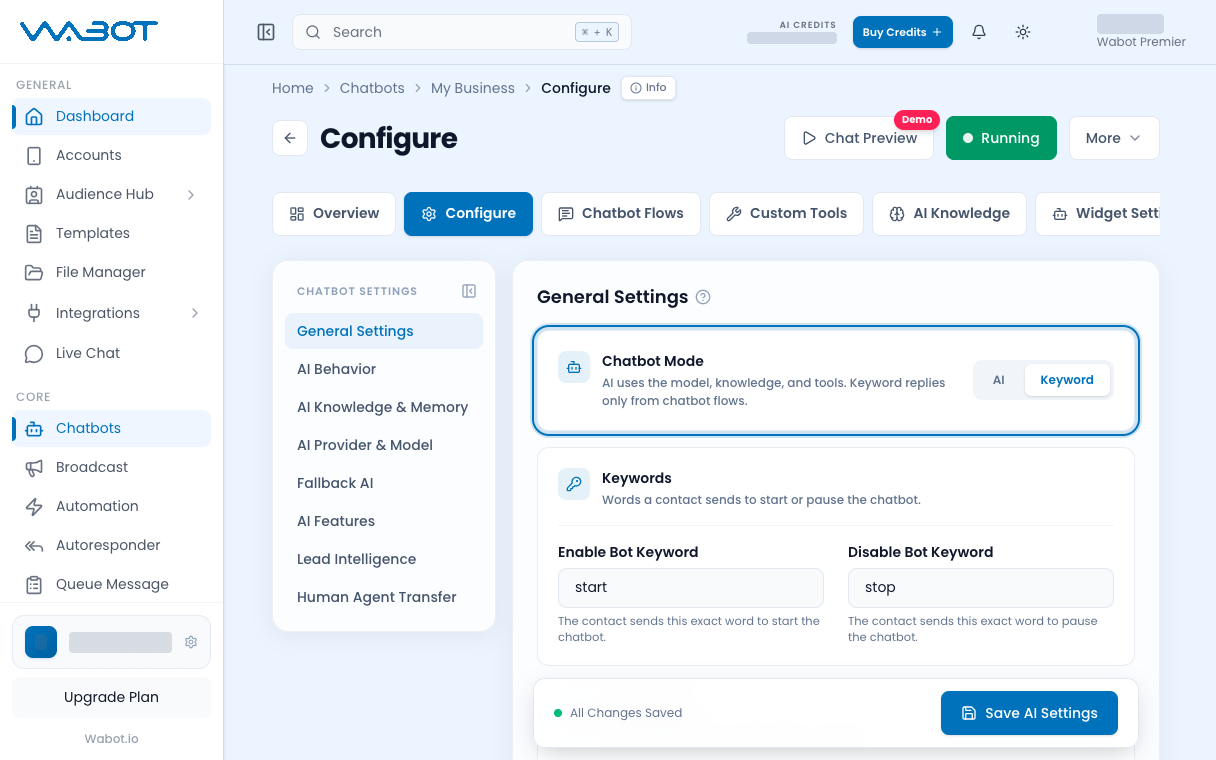
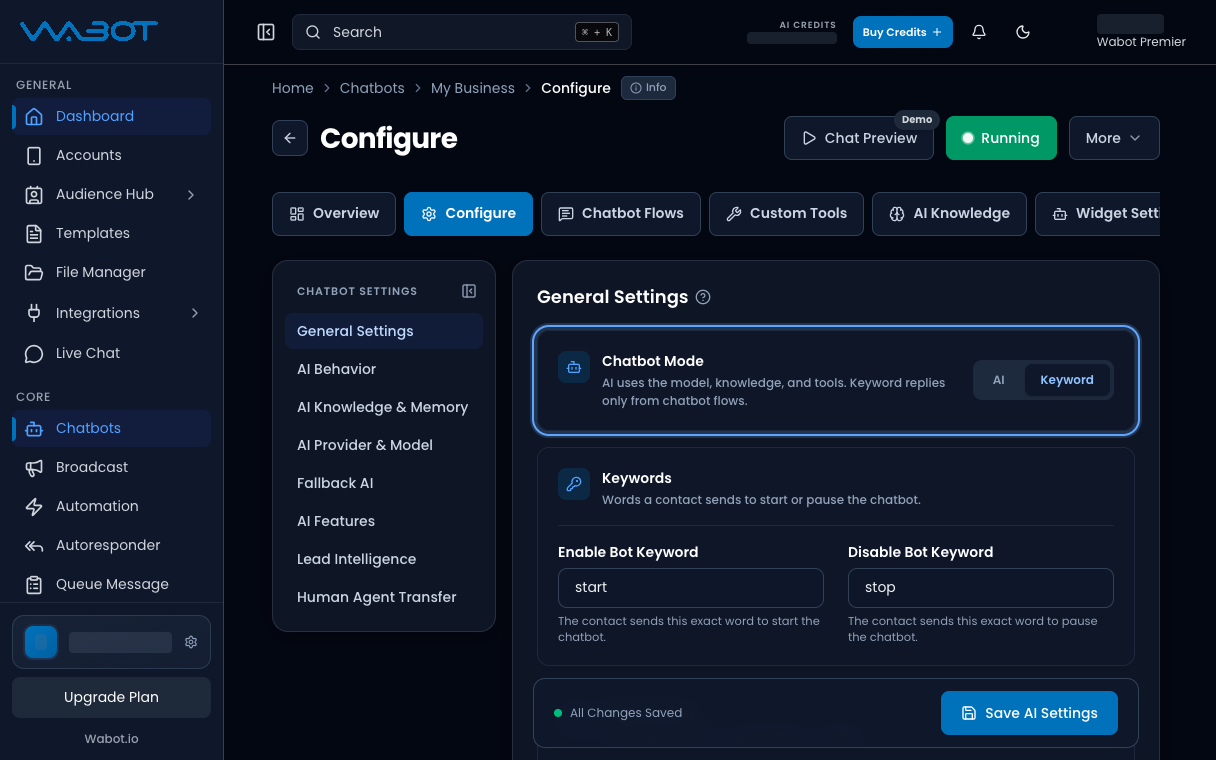
In the mode control, choose **Keyword**.

If the account is already on **Keyword**, leave it.

<figure class="doc-shot">
  <img class="doc-shot__light" src="/images/features/chatbots/cb-keyword-light.png" alt="Chatbot Mode with Keyword selected" width="1216" height="760" loading="lazy" decoding="async" />
  <img class="doc-shot__dark" src="/images/features/chatbots/cb-keyword-dark.png" alt="Chatbot Mode with Keyword selected" width="1216" height="760" loading="lazy" decoding="async" />
  <figcaption>Under <strong>Chatbot Mode</strong>, choose <strong>Keyword</strong>.</figcaption>
</figure>

## Make sure it worked

The mode label on this instance shows **Keyword**.

The **Tools** tab and **AI Knowledge** section stay hidden. That is correct for Keyword.

## If it didn’t work

### I still see AI

Open **Settings** again and choose **Keyword**. Confirm if a dialog asks you to switch.

### I cannot find Manage

You are still on the Chatbots list. Click **Manage** on the account card, not the page title.

## Next

Create the first fixed reply in [Create a keyword chatbot item](/features/chatbots/keyword-item).