---
title: Tour the Dashboard
description: 'Find Get started, Connect WhatsApp, Accounts, and Live Chat after you sign up.'
sidebar:
  order: 2
---
In this tutorial, you will learn where to click on the **Dashboard** before you connect WhatsApp.

**Time needed:** 5 minutes

## Before you start

Make sure:

- You just finished [Sign up](/getting-started/signup) and you can see Wabot.

> Do not connect WhatsApp on this page. Just find the buttons.

> Next, pick **Unofficial API** or **Official API**. You only need one.

## 1. Open Dashboard

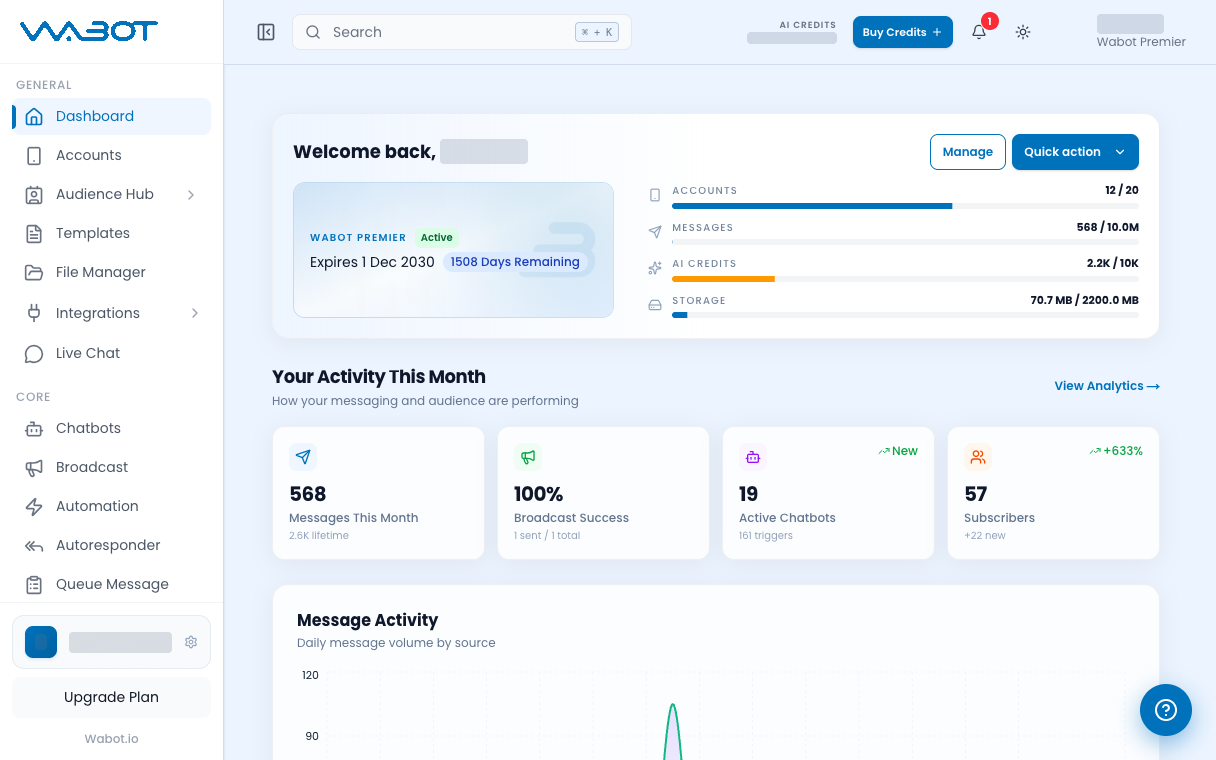
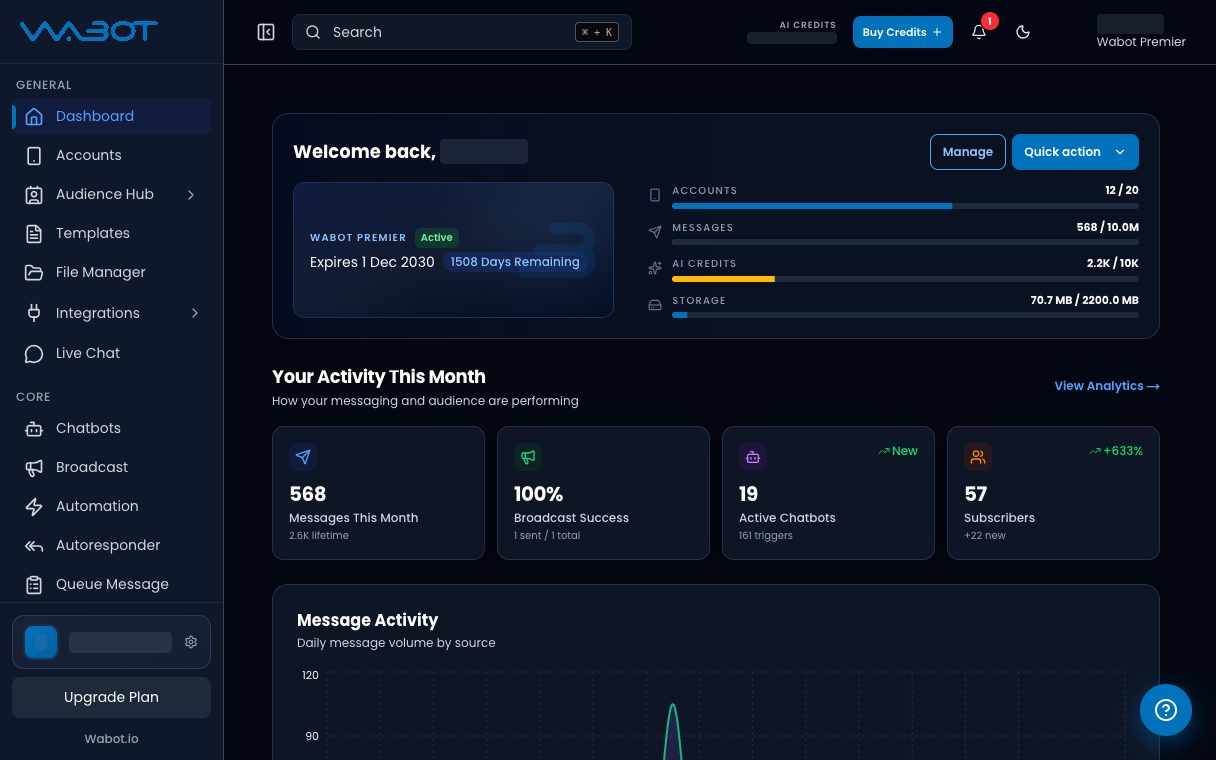
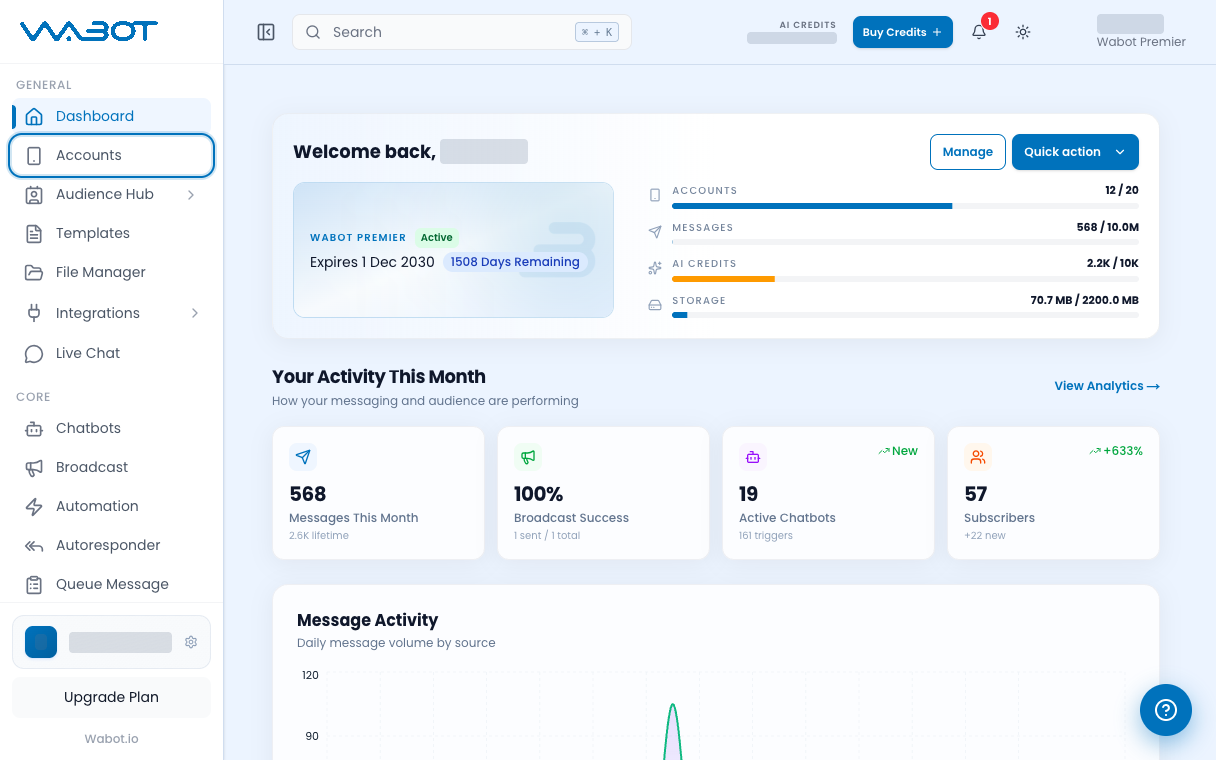
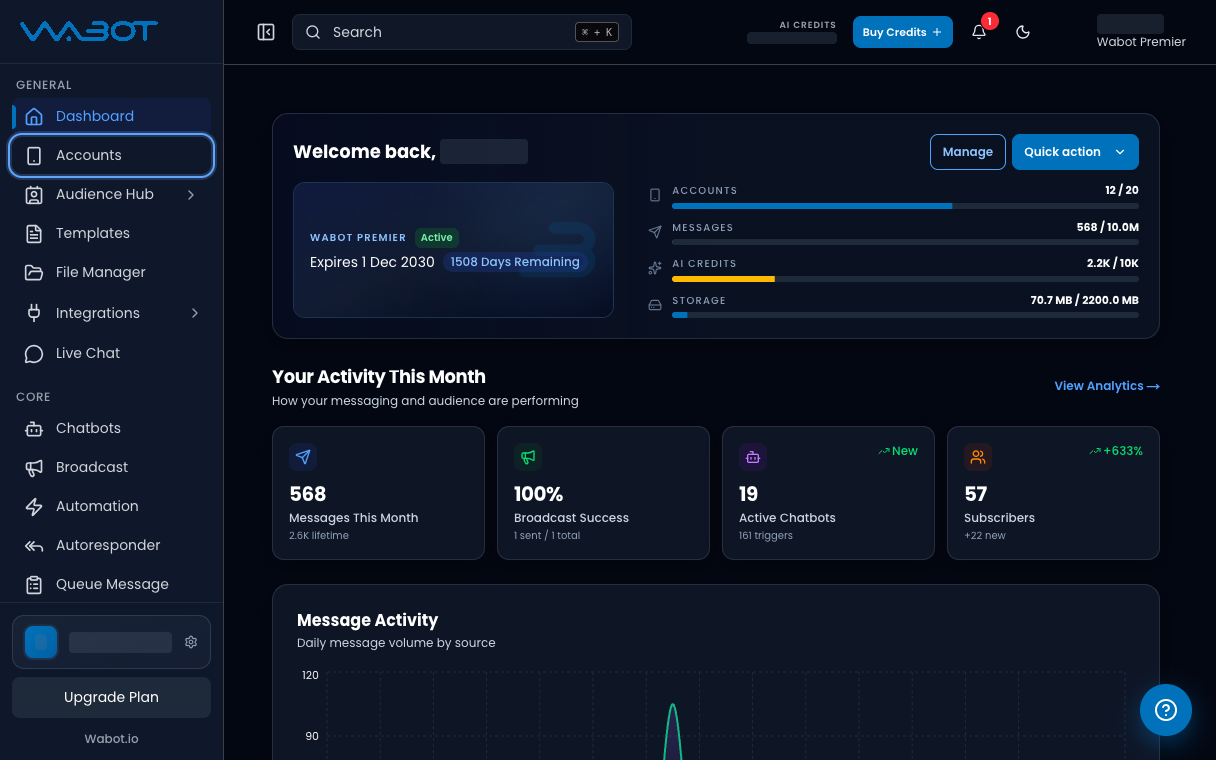
On the left menu, click **Dashboard**.

<figure class="doc-shot">
  <img class="doc-shot__light" src="/images/getting-started/dashboard/01-dashboard-light.png" alt="Wabot Dashboard with the left menu and the welcome card" width="1216" height="760" loading="lazy" decoding="async" />
  <img class="doc-shot__dark" src="/images/getting-started/dashboard/01-dashboard-dark.png" alt="Wabot Dashboard with the left menu and the welcome card" width="1216" height="760" loading="lazy" decoding="async" />
  <figcaption>The <strong>Dashboard</strong>. The left menu stays on every page.</figcaption>
</figure>

## 2. Read Get started

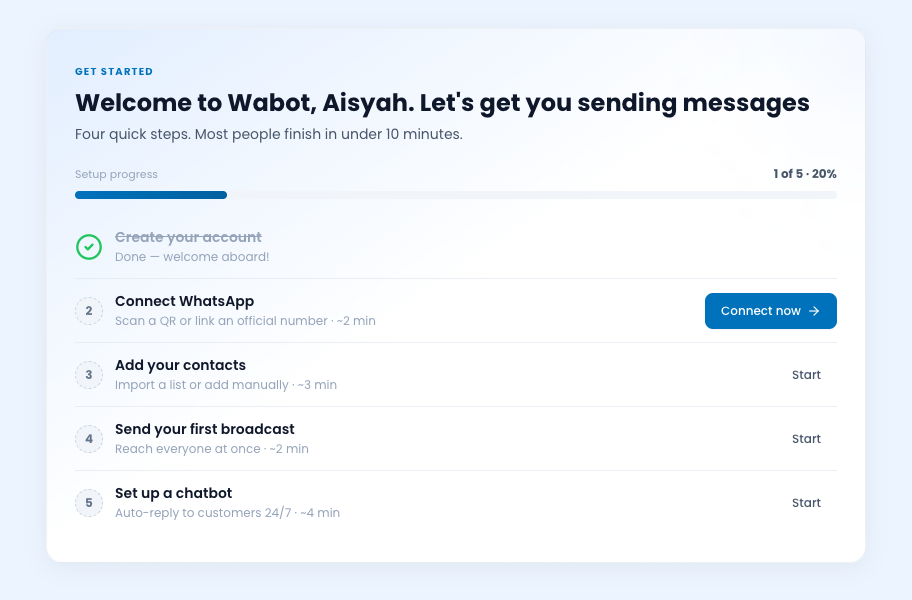
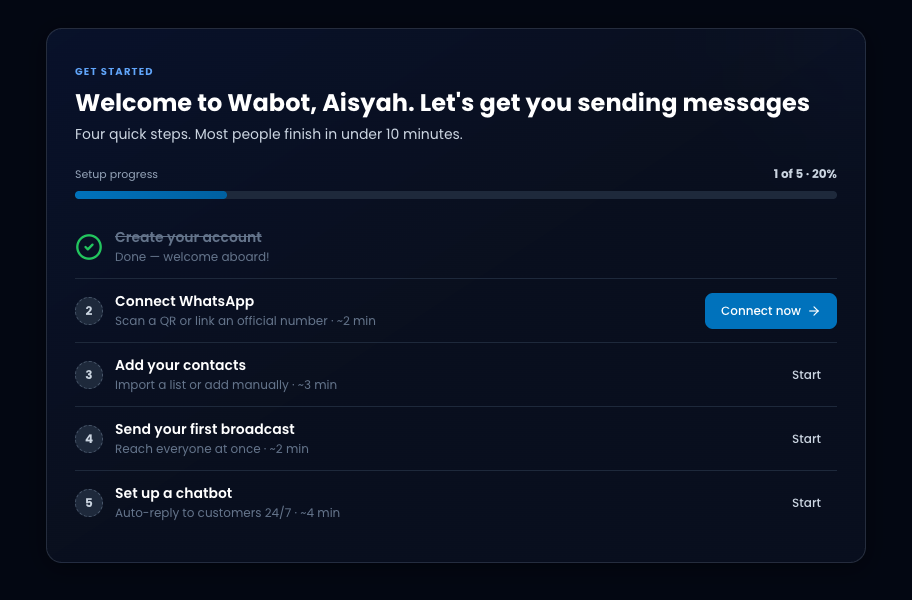
At the top, find **Get started**.

You should see **Welcome to Wabot** and **Setup progress**.

The first step in the list is **Connect WhatsApp**.

<figure class="doc-shot">
  <img class="doc-shot__light" src="/images/getting-started/dashboard/02-get-started-light.png" alt="Get started card with Setup progress and Connect WhatsApp as the next step" width="912" height="600" loading="lazy" decoding="async" />
  <img class="doc-shot__dark" src="/images/getting-started/dashboard/02-get-started-dark.png" alt="Get started card with Setup progress and Connect WhatsApp as the next step" width="912" height="600" loading="lazy" decoding="async" />
  <figcaption>A new account shows <strong>Get started</strong>. <strong>Connect WhatsApp</strong> is the next step.</figcaption>
</figure>

## 3. Find Accounts

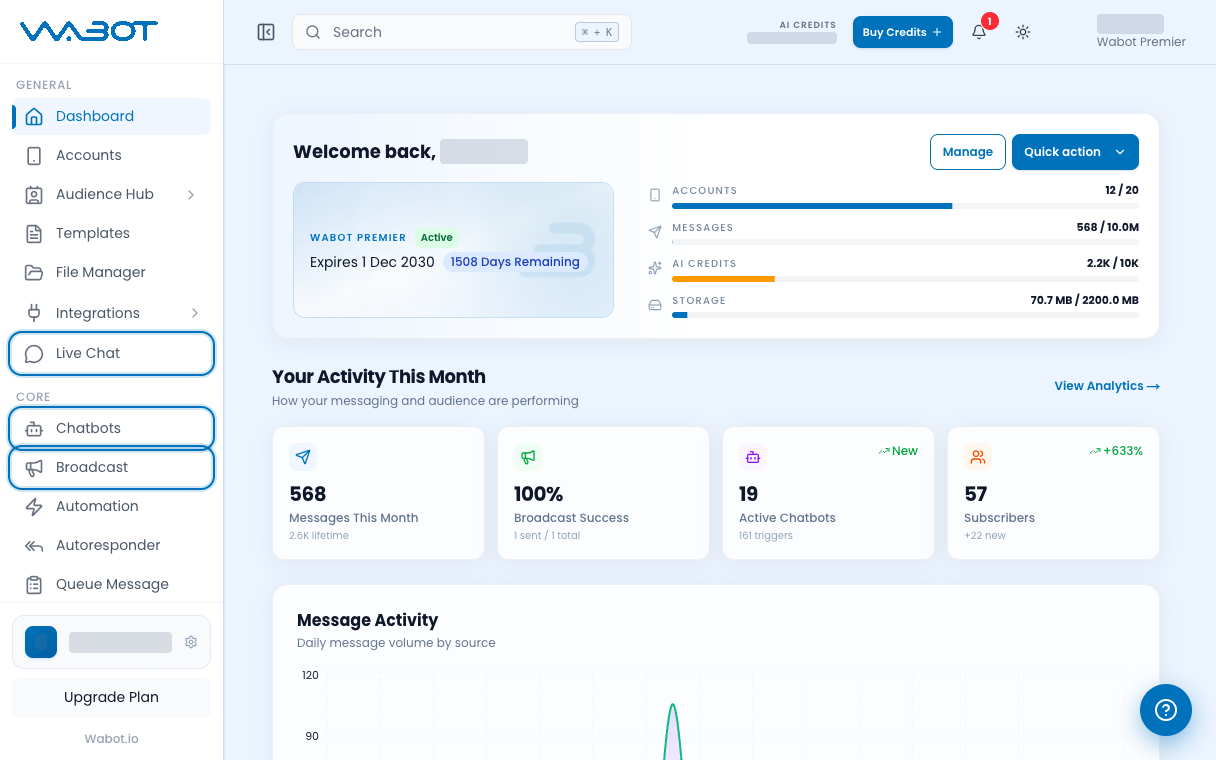
On the left, under **GENERAL**, find **Accounts**.

That is where you add a WhatsApp number.

<figure class="doc-shot">
  <img class="doc-shot__light" src="/images/getting-started/dashboard/03-accounts-light.png" alt="Accounts highlighted in the left menu under GENERAL" width="1216" height="760" loading="lazy" decoding="async" />
  <img class="doc-shot__dark" src="/images/getting-started/dashboard/03-accounts-dark.png" alt="Accounts highlighted in the left menu under GENERAL" width="1216" height="760" loading="lazy" decoding="async" />
  <figcaption><strong>Accounts</strong> sits under <strong>GENERAL</strong>, near the top.</figcaption>
</figure>

## 4. Find Live Chat and Chatbots

Still on the left:

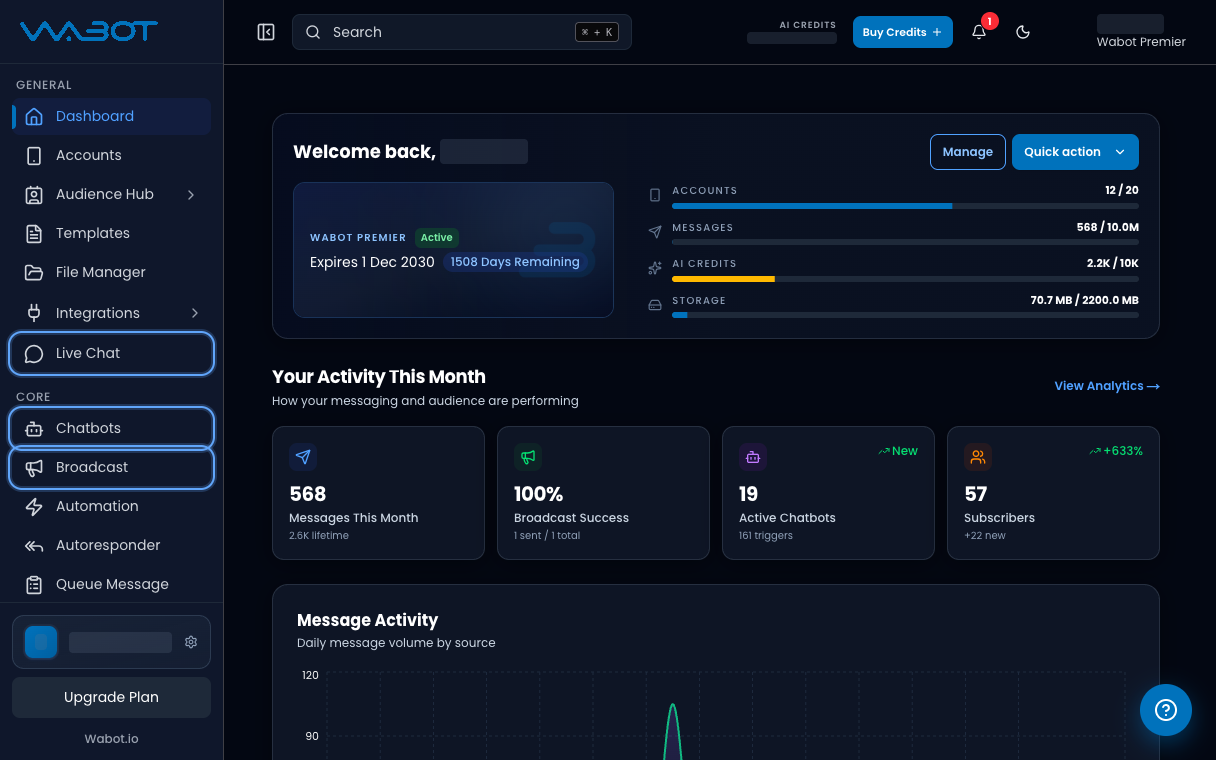
- Under **GENERAL**, find **Live Chat**.
- Under **CORE**, find **Chatbots** and **Broadcast**.

<figure class="doc-shot">
  <img class="doc-shot__light" src="/images/getting-started/dashboard/04-menu-light.png" alt="Live Chat, Chatbots and Broadcast highlighted in the left menu" width="1216" height="760" loading="lazy" decoding="async" />
  <img class="doc-shot__dark" src="/images/getting-started/dashboard/04-menu-dark.png" alt="Live Chat, Chatbots and Broadcast highlighted in the left menu" width="1216" height="760" loading="lazy" decoding="async" />
  <figcaption><strong>Live Chat</strong> is under GENERAL. <strong>Chatbots</strong> and <strong>Broadcast</strong> are under CORE.</figcaption>
</figure>

## Make sure it worked

You can see **Get started** on the **Dashboard**.

You can see **Accounts** and **Live Chat** on the left.

## If it didn’t work

### I do not see Get started

You already connected a number, or this is an older account. That is fine. Still use **Accounts** on the left for the next step.

### The left menu is hidden

On a small screen, open the menu icon first, then click **Dashboard**.

## Next

Connect this WhatsApp number. Pick one.

[Connect Unofficial API →](/getting-started/connect-account)

[Connect Official API →](/getting-started/connect-official)